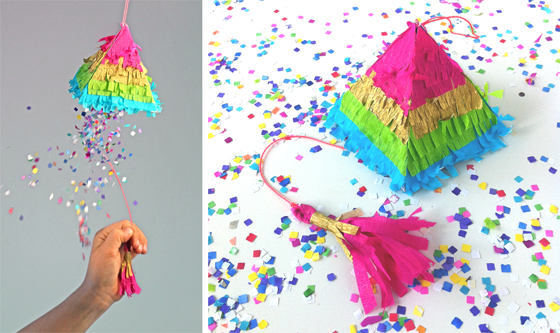
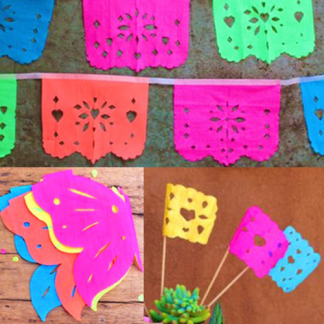
Aye Carumba! Cute, mini piñatas to fill with goodies.
Make a Pinata today! Traditionally you beat a piñata with a stick until it exploded and all the yummy, shiny contents fell to the ground. Now days, as a safer option (small kids, plus sticks, plus beating and all blindfolded seems fairly inevitable to lead to tears at the very least…) piñatas often come with a string which you pull down on to release the contents.
Watch how to make a Piñata: Cute Mini rainbow Piñatas for fiestas! Video craft tutorial
We wanted to make a fully functioning mini piñata, so ours too has a pull string. It’s been tried and tested by the kids, so we can report that it works beautifully! These templates are free to Happythought members.
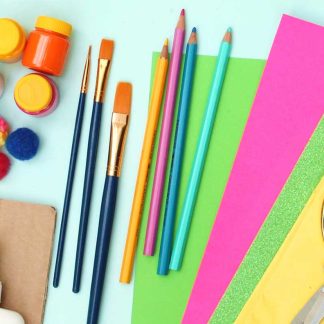
To make your DIY piñata at home you will need:
- Crepe paper or crepe festoons (4 different colors)
- Scissors
- A glue stick
- Colored string or ribbon
- Small candies and treats
- Free for members Happythought printable piñata template
How to make a pinata (Photo tutorial + free template for Happythought members)
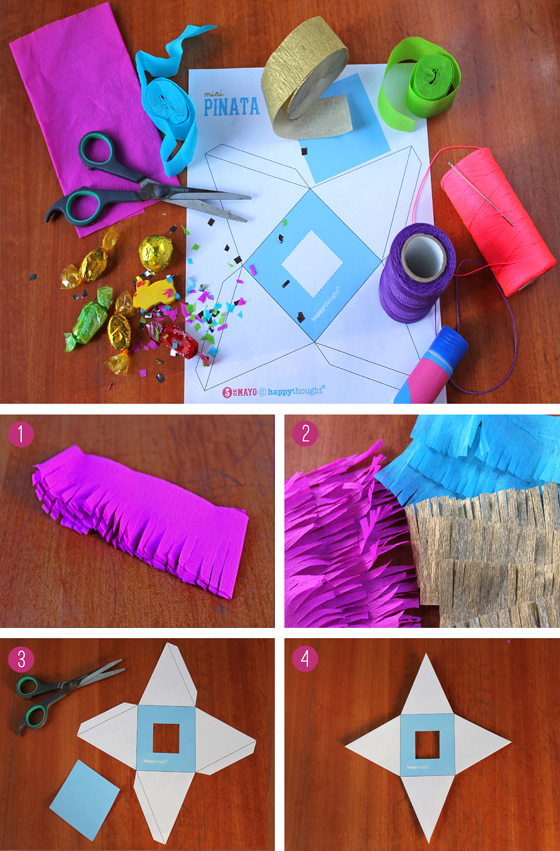
1. Before starting, prepare your crepe paper.
Cut out 4cm wide strips of brightly coloured crepe paper or use party festoons and fringe with a pair of scissors. If you fold the crepe paper over you can cut and fringe several strips at once.
2. Now cut your fringed crepe paper into strips of approx. 10cm for the base colors and 5cm for the colors going at the tip of your piñata.
3. Next, print out our piñata template, free to download below. Score the folds and cut out the template and the square panel.
4. Fold over the tabs on the side of each triangle as shown before applying the crepe paper to keep them clean.
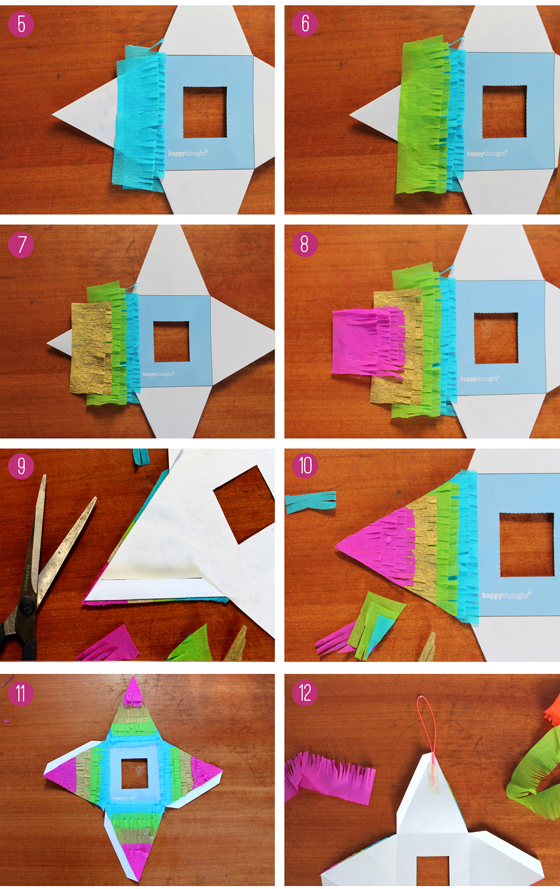
5. Cover the first triangle in glue and apply two strips of your first color of fringed crepe, overlapping the bottom edge of the triangle.
6. Repeat with two strips of each colour until you reach the top of the triangle.
7. Make sure each strip is well stuck right to the edges of the triangle, otherwise when you trim your fringing some might come loose.
8. You can add 3 or more strips of the top color to get a nice finish.
9. Flip your piñata over and trim off the excess fringing.
10. The first side of your piñata is complete!
11. Repeat this process with each side of your piñata.
12. Attach a loop of string or ribbon to the inside top of one of the triangles with a little sticky tape.
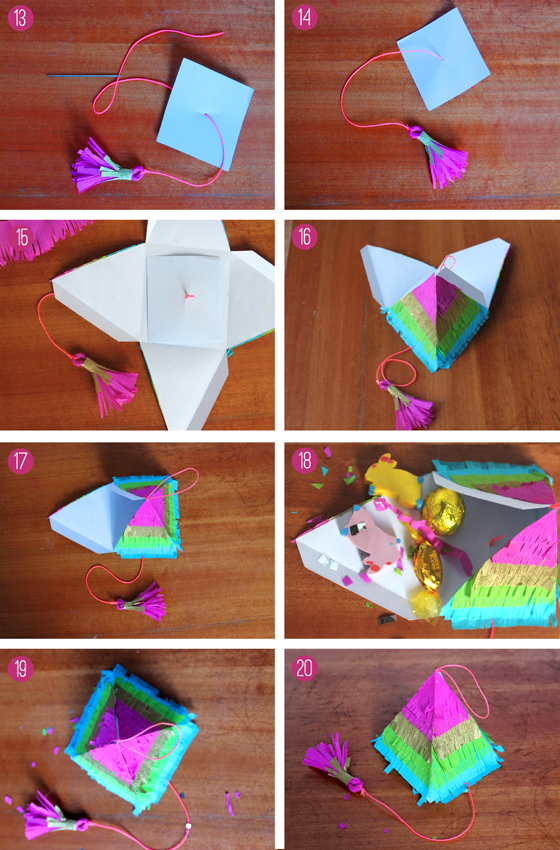
13. Attach a tassel on the bottom of the square panel (see making tassel tutorial below).
14. We used a needle, but you could poke a small hole in the panel with scissors or a pin, then secure your string on the other side with a little tape.
15. Carefully place the square panel inside the triangle base as shown, with the tassel hanging down below.
16. Glue together the first two panels of your piñata.
17. Next glue the third panel.
18. Now you can fill your piñata with goodies – little sweets or toys and a little home made confetti – use the left over scraps of crepe paper and cut into tiny pieces.
19. Seal the third side of your triangle and your mini pinata is ready!
20. Just pull the tassel to release the goodies inside.
Tassel tutorial – How to make a pinata
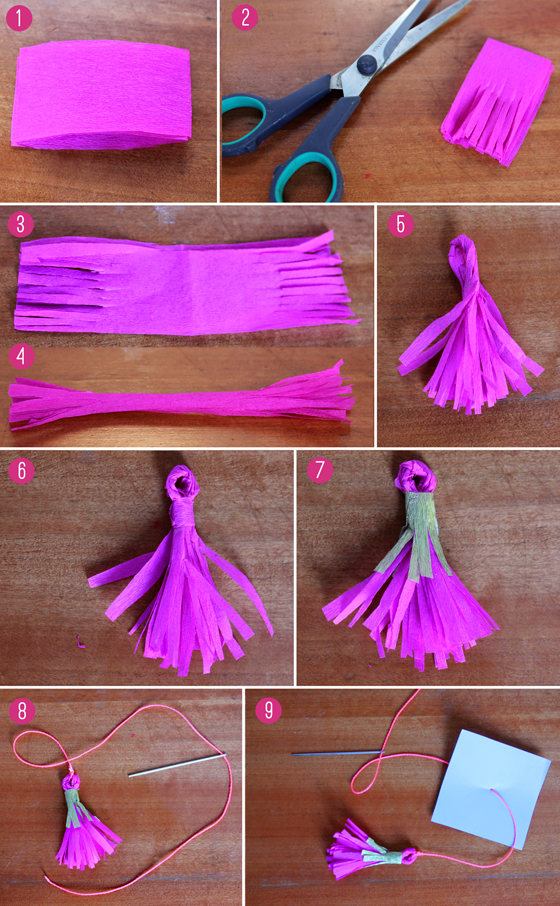
1. Fold 4 strips (approx 8cm long) of crepe paper in half.
2. Fringe the ‘open’ end as shown
3. Unfold the strips of crepe paper.
4. Carefully roll them up.
5. Twist the centre section then fold to make a looped tassel.
6. Apply glue to a small strip of crepe and wrap round below the loop to secure.
7. Wrap around a second strip of fringed crepe in another colour and secure with a little glue.
8. Thread a length of string or ribbon through the loop and secure with a knot.
9. Attach your tassel to the base panel of the pinata.
For other great free craft activities and templates, available in our CraftClub (be a Happythought member).
Piñata History: Tradition and origins
Original piñatas were star shaped with seven points. The points of the star represented the seven deadly sins.
The blindfold person hitting the piñata represented faith and the stick virtue. As the piñata song (see below) was sung the ‘hitter’ was spun around to represent the confusion of temptation. The idea was that with and virtue you can overcome temptation. By breaking the piñata into pieces you had destroyed the sins and the treats that were released represented forgiveness and a new beginning.
Piñatas are thought to have originated in China. Marco Polo passed this custom on to Europe in the 14th Century and in the 16th Century Spanish missionaries in Mexico used piñatas at their ceremonies. However, the Mayans already had a very similar tradition – to celebrate the birthday of the Aztec god of war, a colorful clay pot with little treasures inside was hit with a stick until the treasures fell at the image of the god’s feet.
Traditionally piñatas are filled with sweet treats, fruit and confetti and hung from the ceiling or tree. A blindfolded guest then hits the hanging piñata with a stick, releasing the goodies inside.
Piñatas were originally made of clay or papier mache and covered with brightly coloured paper and ribbons.
The Piñata Song
Spanish:
Dale, dale, dale.
No pierdas el tino.
Porque si lo pierdes.
Pierdes el camino.
Ya le diste una.
Ya le diste dos.
Ya le diste tres.
Y tu tiempo se acabó.
English:
Hit it, hit it, hit it.
Don’t lose your aim.
Because if you lose it.
You lose the way.
You hit it once.
You hit it twice.
ou hit it three times.
And your time is up.
To learn more about the history of the piñata visit: http://www.mexconnect.com/articles/459-history-of-the-piñata
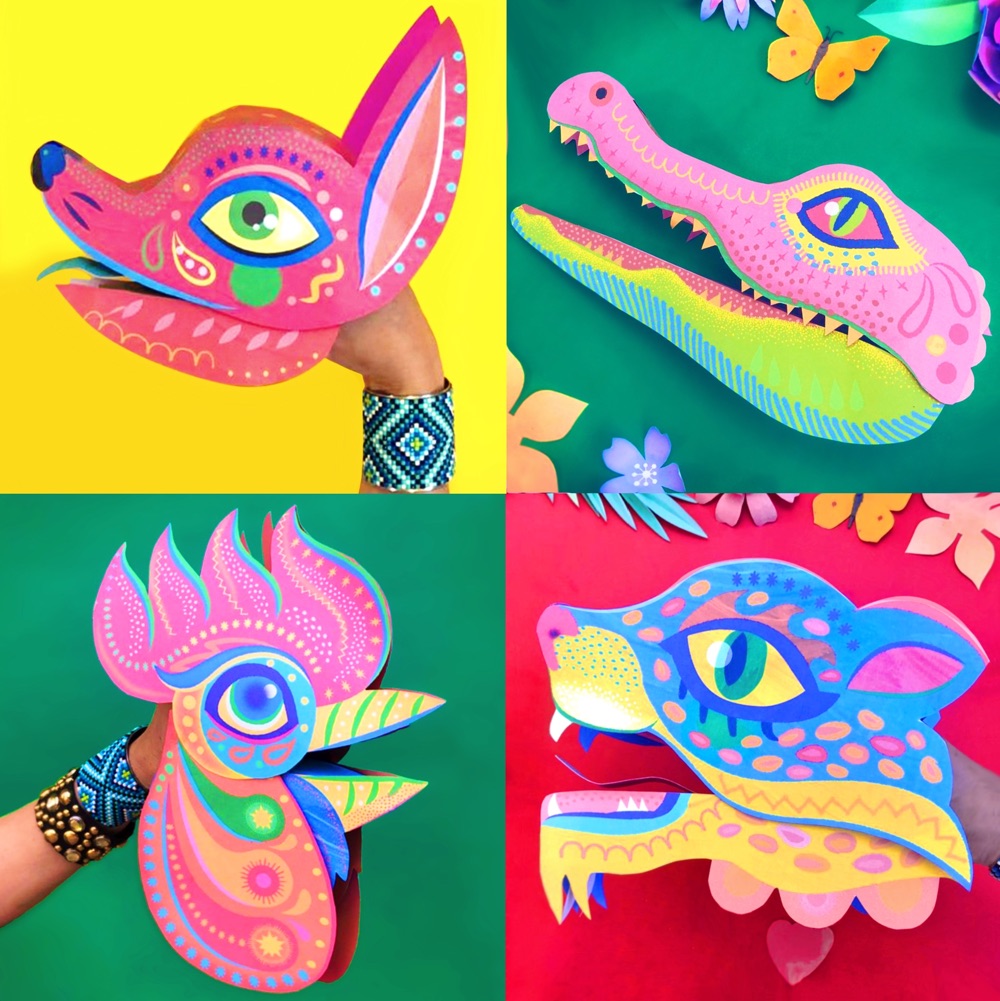
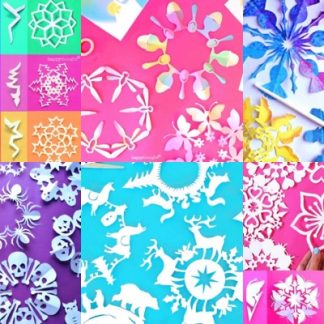
Be sure to check out all these great crafts and activities
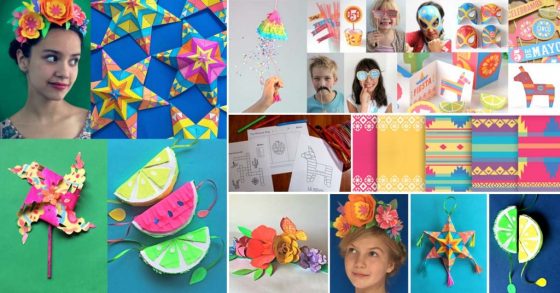
Also included in our Cinco de Mayo offerings are ‘free printable Luche Libre masks’, and ‘3 free printable coloring in pages‘ for Cinco de Mayo celebrations.
Worksheets in Spanish and English
10 fun printable Cinco de Mayo worksheets for schools, Day of the Dead worksheets for home study and learning. You can find out a little about the history of this fun celebration and the answer to What is Cinco de Mayo?
Read about more craft ideas on our blog. We hope you enjoyed how to make a Pinata! If so, please give us a little love by liking us on facebook, pinning us on pinterest or following us on twitter.


This is such a great idea looking to use for my daughters 5th birthday!
Thank You!
Hi there, I love this DIY pinata template. I will make it with my kids this weekend. Thank you
I can’t wait to make these! Thank you!
Very greatful for this template.
My daughters birthday is this week and I will use this pinata template with the kids!!!!!
This looks so cute to make! Can’t wait to make mine! 🙂
Thanks for all Mexican ideas, helped me a lot.
You can use a hot glue gun
For those who have made these gorgeous mini piñatas, what did you use to secure the sides together? The pinatas are weighted with candy. I’m using just the plain old glue sticks and it’s kicking my butt. Not to mention I’m making at least 50 of them so it’s rather frustrating!
This is amazing!! My daughter’s 2nd birthday is coming up and after looking up tutorials for DIY Peppa pig pinatas (not very many exist, and do I really want to have a bunch of toddlers and kids wandering ’round with a bat trying to smash a cute lite pig?!), I came across this video on YouTube and fell absolutely in love with this idea. Good thing I have a month and a half to prepare 30+ of these along with other party stuff! This is awesome, thanks! ❤️
I can not find the template. I really like this idea. Could you send it to me or point me in the right direction to get it. Thank you! Great idea!
Thank you for sharing this wonderful resource. I shared your project on my blog along with a couple of links to your site.
Thanks so much!
Sarah from teachingresourcesfortheclassroom.com
Download this for extra credit!
I entered my name and email for this Pinata template. Have you?
Thank you for such a nice tutorial!
My daughter will have her 3rd bday and I would love to do these treats! Or maybe do a larger one…. I’ ve been trying to find how to do a large nice piñata.
I’m from Argentina! All the way down south….
Thanks a lot!
Love,
Cintia.
I really love your mini pinata template craft and really want to do the craft with my daughter’s class this Friday!
Thanks,
Amy