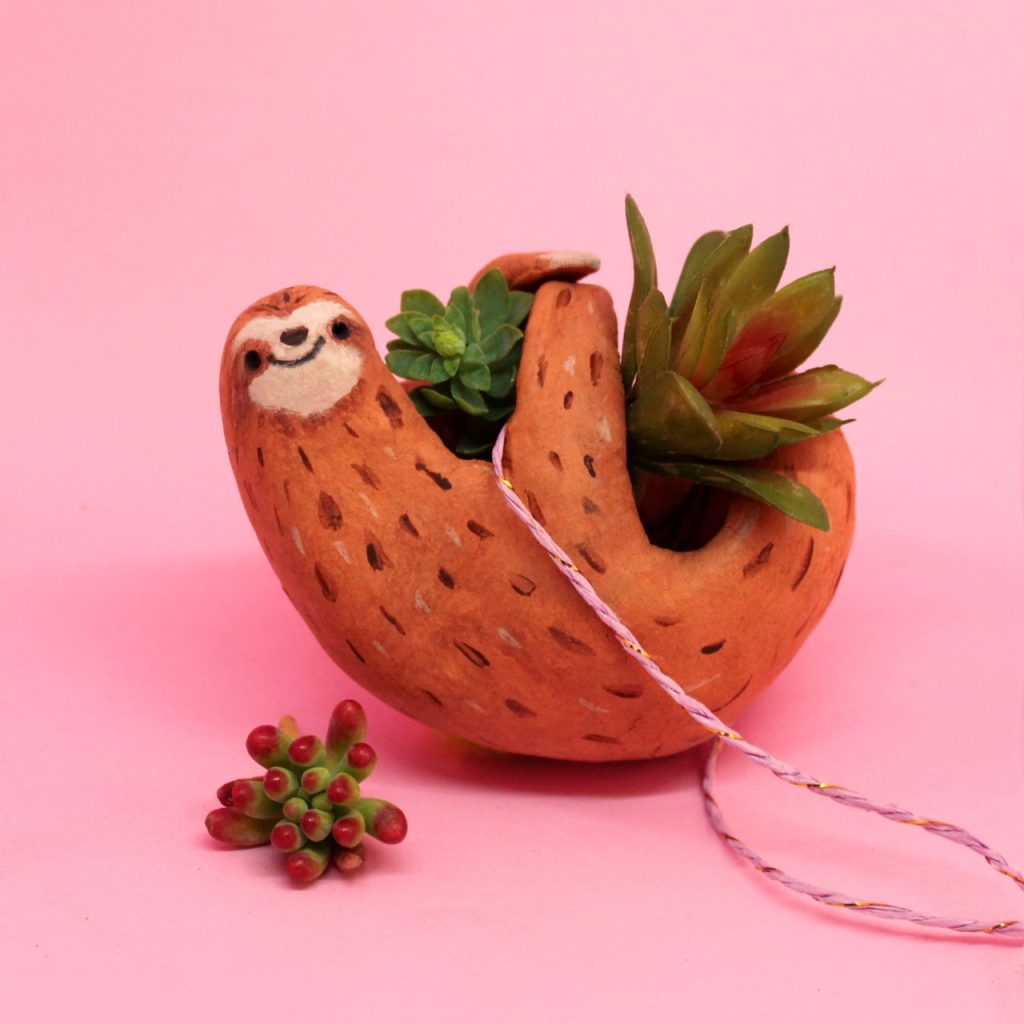
Make an adorable hanging sloth planter using air or oven dry clay. Mould a ball of clay into a hanging sloth, then pack with earth and mini succulents for a unique hanging planter!
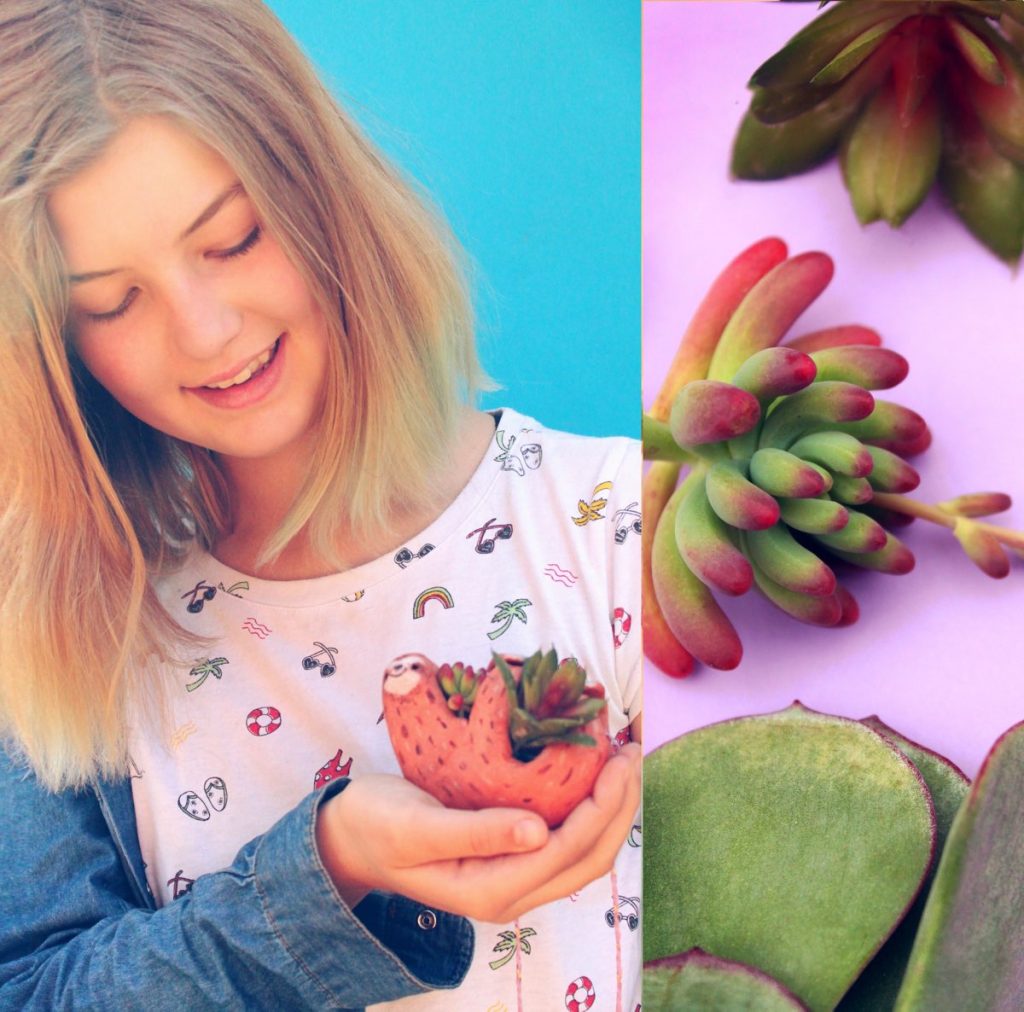
Paint on a happy face and tie on a tassel or bauble to add the finishing touch to your design.
YOU WILL NEED:
Air dry or oven dry modelling clay
Acrylic paints
Earth
Succulent plant cuttings
Yarn or string
Tassels
How to make your sloth planter : step-by-step instructions
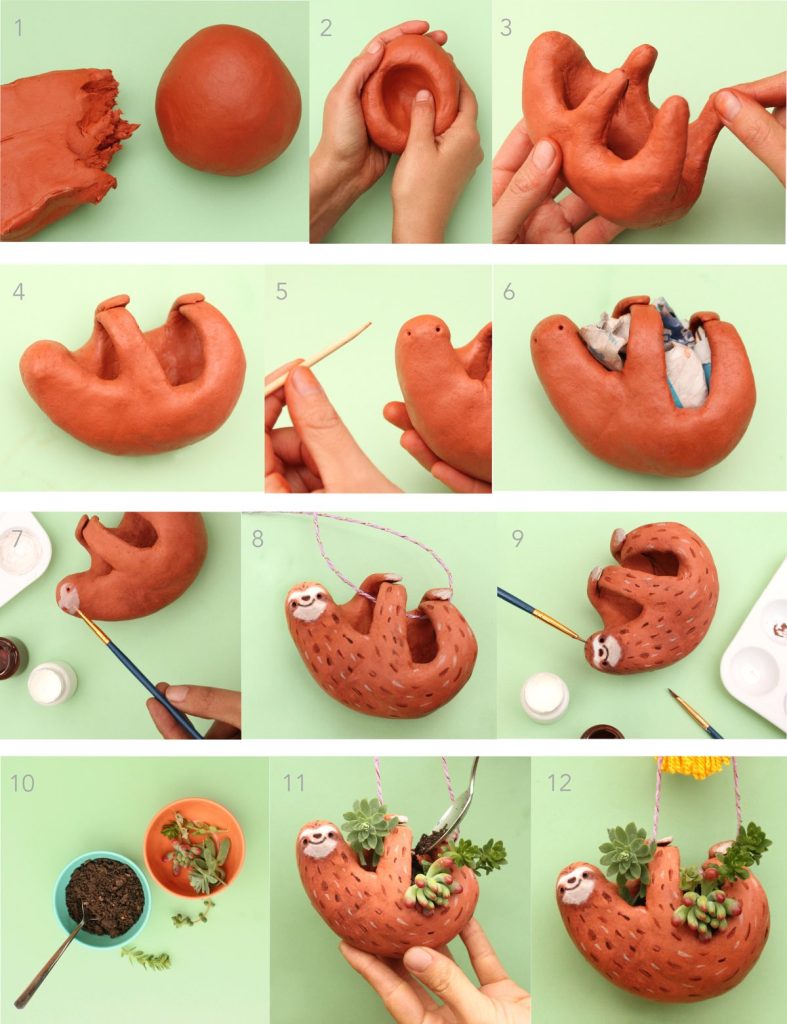
1 . Break off a handful of clay and form a ball.
2. Using your thumbs, make a deep well in the center of the ball.
3. Pull out and form the arms and legs from the side of the well.
4. Flatten the ends of the limbs and wrap one over the other, as shown.
5. Use a stick to mark the Sloth’s eyes.
6. Stuff your finished model with newspaper and leave to dry over night, or bake in a kiln or oven if applicable.
7. Once your sloth planter is dry, you can start painting it. Add a white base for the face.
8. Then add the details of the face, and some hair!
9. Place some colorful string or yarn through the arms and legs of your sloth.
10. Now add some earth and small succulent plants.
11. Pack the earth below and around the plants, using a teaspoon.
12. Add a colorful tassel and your sloth planter is ready to hang!

Be sure to check out these fab crafts and printables by Happythought:
Check out this sloth planter pin. Plus more DIY ideas on Happythought’s Sloth Crafts board on Pinterest.
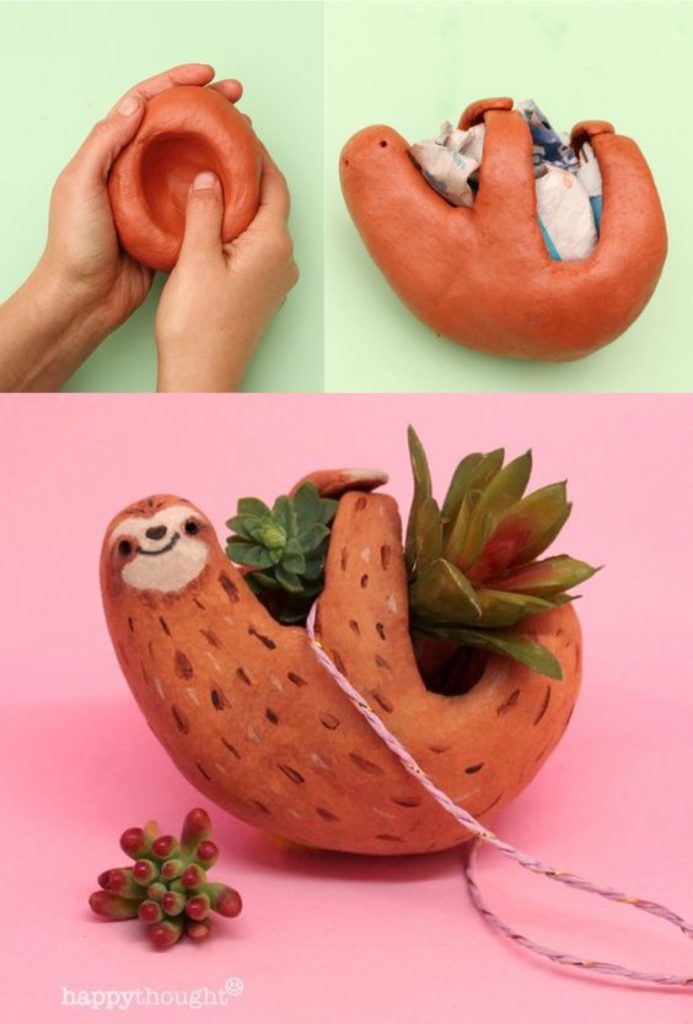

Check out more craft ideas on our blog. Plus more sloth crafts and ideas are in our book Sloth Crafts, available at Amazon, Barnes and Noble, Target, Waterstones and all good book shops now!











But won’t the moisture from the soil damage the sculpture after a while since air dry clay isn’t water tight? Is there anyway to prevent this?
Hi Chloe, thanks for your question. We find that putting a varnish or even PVA glue as a finish keeps things water tight. Hope that helps?