A magical new movie ‘The Night Before Christmas in Wonderland’ is out this month, just in time for the Holidays, and you are going to love it!
Emilia Clarke, Gerard Butler and Simone Ashley star in this enchanting animated musical. Alice in Wonderland meets St Nick with a charming tale about Christmas tidings, hope and cheer.

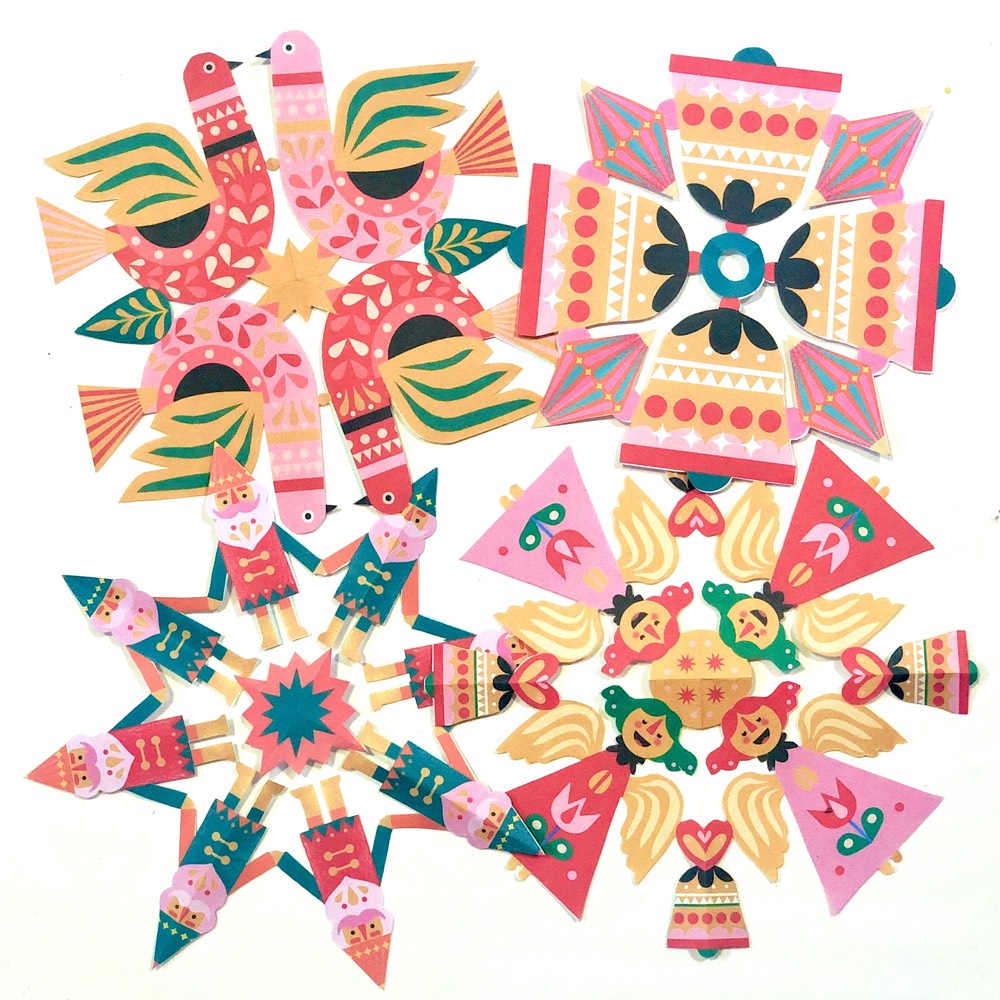
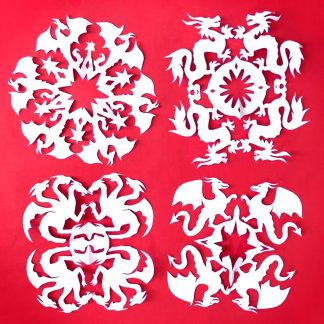
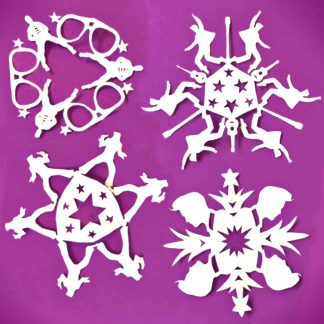
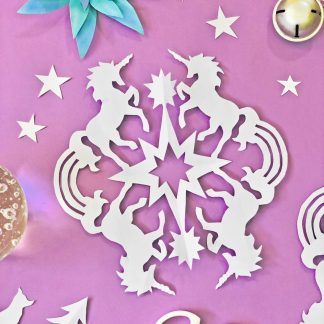
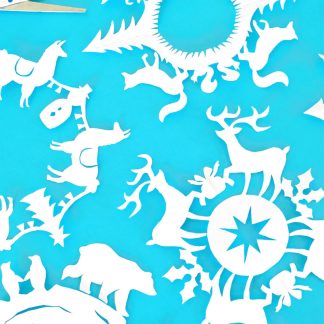
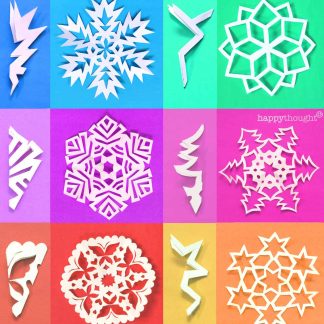
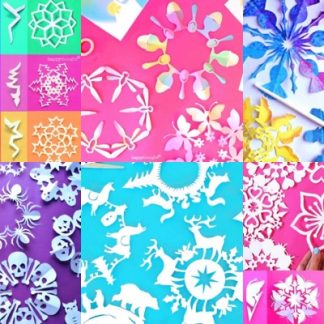
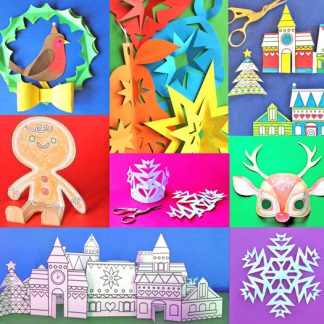
To celebrate the launch of The Night Before Christmas in Wonderland, Happythought have teamed up with Universal Pictures and Lupus Films to create some fun and festive paper craft projects. Make cute paper snowflakes, decorate your home or classroom with a St Nick and his reindeer garland, or post a letter to St Nick in an adorable miniature postbox. Let’s hope the White Rabbit passes it on!

Get into the Holiday spirit! Night Before Christmas in Wonderland craft activities.

YOU WILL RECEIVE:
PDF HIGH RESOLUTION file contains the following templates/patterns:
• Christmas Garland instructions and template
• Christmas Postbox instructions and template
• Christmas Snowflake instructions and template


Each set includes easy-to-follow instructions, so download the templates now and join in the fun!
Watch THE NIGHT BEFORE CHRISTMAS IN WONDERLAND now on Prime Video and Hulu in the U.S., and SKY Cinema and NOW TV in the U.K. from December 13.
Download free templates now + create festive paper crafts here!
All you need to do is enter your email to join our mailing list. You will then have access to the download the exclusive Night Before Christmas PDF craft pack.