DIY Ojo de Dios: Easy to follow step-by-step photo tutorial
In Chile our first Ojo de Dios was made by our daughter Missy, at school. Since then, we love to make them as gifts and decorations.
Once you become practised you could move on to an 8 stick mandala shape. There are some beautiful examples of really complex Ojo de Dios online – take a look at the work of Jay Moehler here.
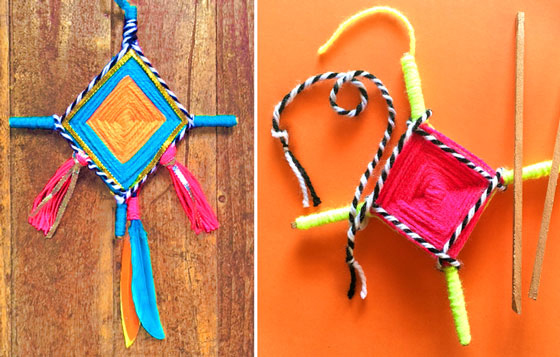
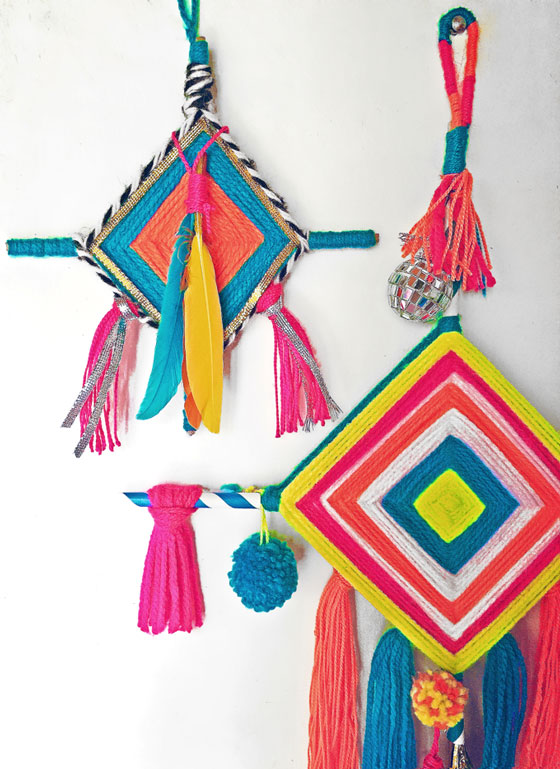
We thought we’d share this tutorial showing you how to make a very simple Ojo de Dios, made with two sticks and a couple of colors of yarn.
To make this craft you will need:
- Sticks – we used dowling, or you can use kebab sticks or twigs from the garden!
- Scissors
- Wool yarn in at least one or two colors
- Ribbon and feathers (optional)
Instructions on how to make your own yard decoration
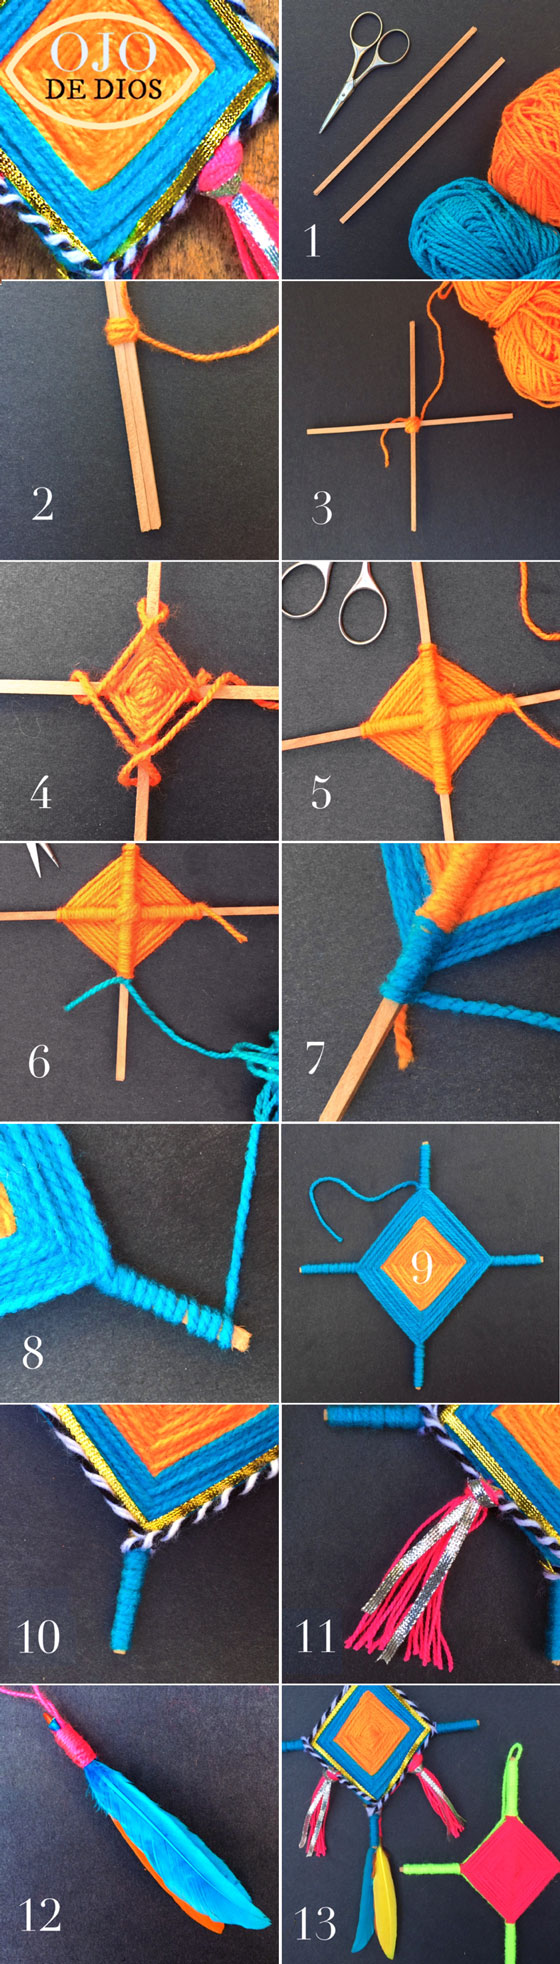
1. Select two sticks and choose two or more balls of colourful wool yarn.
2. Take a ball of yarn and use the end to tie the two sticks together in the middle.
3. Now open up the sticks to make a cross and wrap the yarn in the opposite direction until it feels secure.
4. Start looping the yarn around each stick in turn, as shown.
5. When you are ready to move onto the next color tie a simple knot and snip off the end of the yarn.
6. Now tie the end of your next ball of yarn to one of the sticks and begin looping the yarn around each stick as before.
7. For a neat finish, keep the end of the previous color flush to the stick and wrap the yarn around it as you go.
8. To finish off, you can wrap the wool around each stick. Wind the wool up to the top and then down again, before carrying it round to the next stick.
9. Once you have wrapped all four sticks, tie the end to a loop on the reverse.
10. Now you can add a length of ribbon or braided yarn. Loop these around the sticks, as before, and tie the ends together.
11. We also added some tassels. Cut lengths of yarn or ribbon, then attach as shown.
12. Finally, we added some feathers. We tied them together using yarn then attached them to the back of the Ojo de Dios.
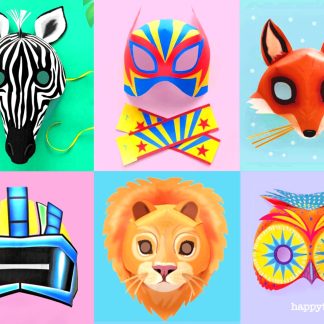
Try these other crafts and activities
You might also like our post on 6 Summer Camp craft activities. Including drinking straw necklaces, butterfly papel picado banners and how to make a cute mini dreamcatcher to keep the bad dreams away.
Hope you enjoyed our quick tutorial how to make Ojo de Dios. Please give us a little love; by liking us on facebook, pinning us on pinterest or following us on twitter. Thank you!