Very Merry Holiday Hats Video tutorial – 3 free to members festive mini paper top hats to download
See the mini top hat video tutorial below to see how quick and easy making your paper party hat.
Then download the festive paper hats templates using the link below.
Go give it a go!
3 Festive holiday miniature top hats to print, make and wear!
‘Ho,Ho,Holly’, ‘Merry Berry’ and ‘Winter Wonderland’ and make your very own super cute festive head piece. Members can download the festive paper hats that also includes complete and easy to follow instructions.

Free for happythought members to download all three festive paper hats instantly!
Be sure to check out all our other mini top hat templates:
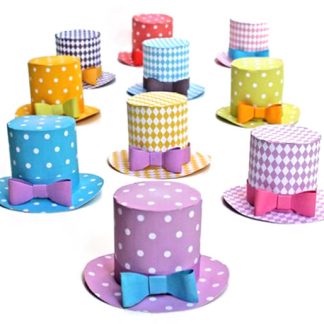
A classic black top hat, a Steampunk top hat, a Burlesque number, a Circus ring master’s hat, a lucky St Patrick’s day hat, a Valentine’s day hat , Mad Hatters mini top and a spooky Bug Halloween hat.
5 easy to mask in bright vibrant party colors are our Diamond Party hats, or 5 Polka Dot Party hats, mini of course and all no sew printable templates.
You might like these other craft ideas and templates:
Festive paper hats: Pictured below shows how to make mini top hats.
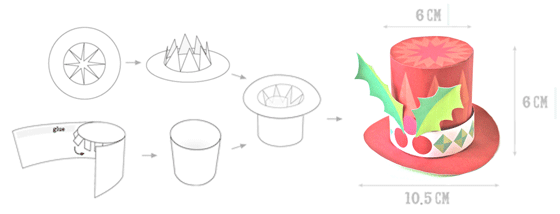
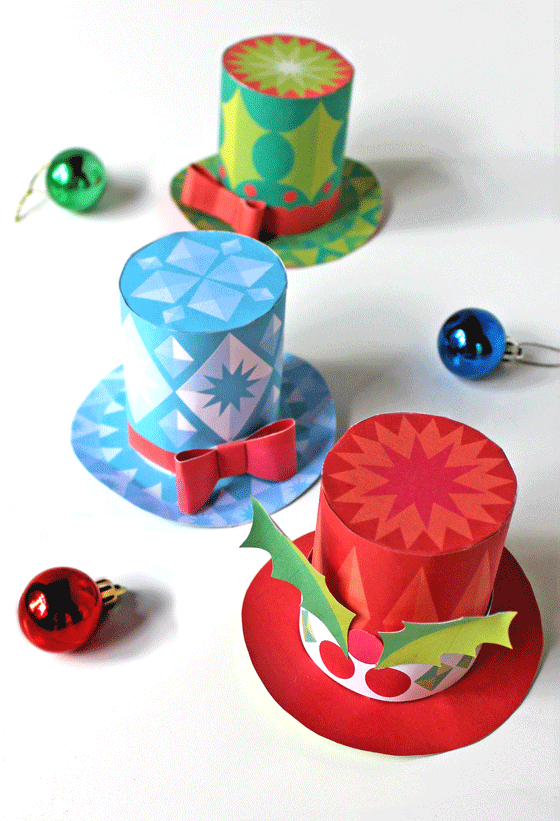
Why not make up Happythought’s festive paper hats for all your friends too?
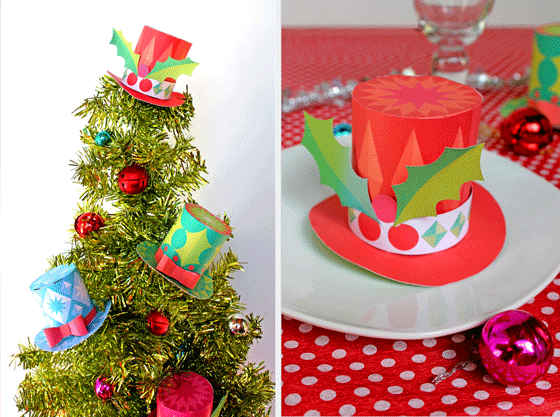
You can also use your hats as festive place settings or Christmas tree decorations.
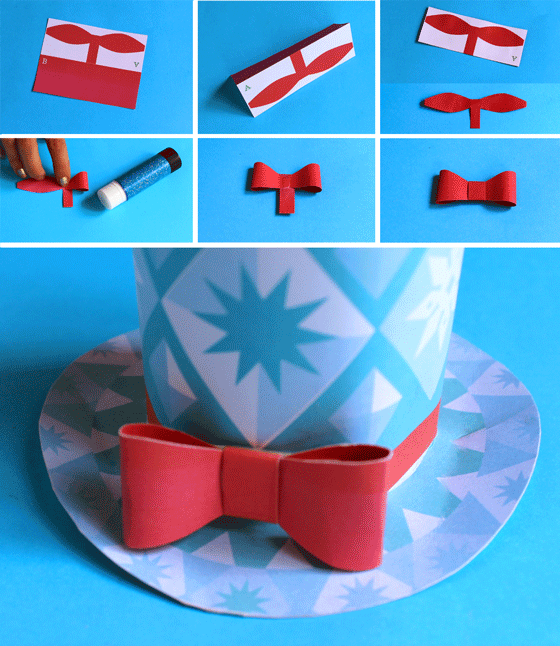
How to make a paper bow for your mini festive paper top hats
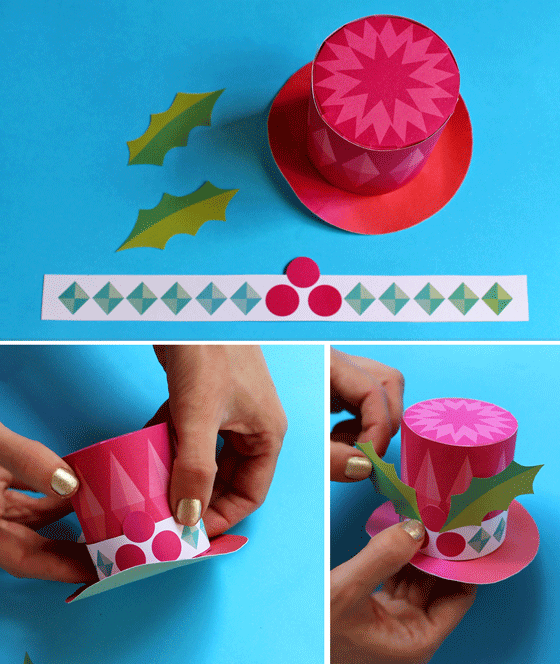
How to make a Holly band for your festive paper top hats
A step-by-step guide to assembling your festive paper top hats
First make the top of your hat.
1. You will need scissors, a glue stick and some sticky or masking tape.
2. Cut out the ‘top’ and ‘base’ templates.
3. Bend down tabs around the circular section as shown
4. Apply glue to the top of your band and to the right hand edge.
6. Glue down tabs and side until you have a complete cylinder.
Now for the base of your hat
1. Fold and glue the base sheet back-to-back, so the images are on the outside.
2. Cut out the circular base of your hat.
3. Lightly fold along the horizontal dotted line in the centre of the base.
4. Cut the vertical lines.
5. Apply glue to the triangular tabs as shown.
6. Open up each tab, gently folding along the base.
7. Place the base over the open end of the top of your hat.
8. Press each triangular tab into the inside of your cylinder, holding for a few seconds until the glue is dry.
9. You can add a couple of pieces of sticky tape over the tips to hold tabs firmly in place.
10. Gently bend the sides of your hat base to give it a jaunty feel. A bobby pin at the back will hold it securely in place.
Have happy Holidays with you festive paper hats!
We hope you enjoyed our Holiday mini top hats! If so, please give us a little love; by liking us on facebook, pinning us on pinterest or following us on twitter. Thank you!

