Make your own adorable piece of wall art, using a piece of wood board, nails and embroidery thread or string!
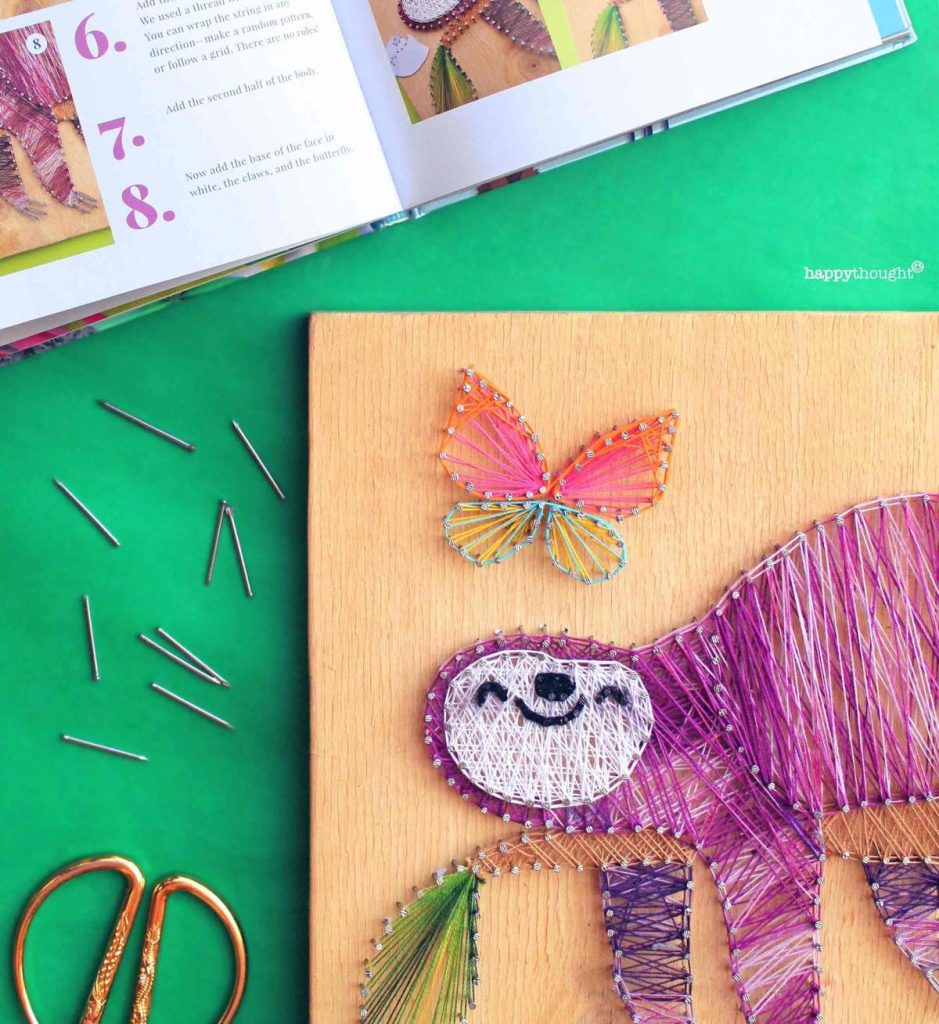
String-art is a fun, easy way to make a colorful picture by wrapping thread around nails.
Mix up the colors and have fun creating unique piece of artwork. We have featured these other sloth craft tutorials on our site. Sloth hoody from an old recycled sweater top, a very cute sloth planter and a sloth mask with animal fact worksheets.
Give little ones an hand by putting nails in place, then they can wrap around the colorful thread.
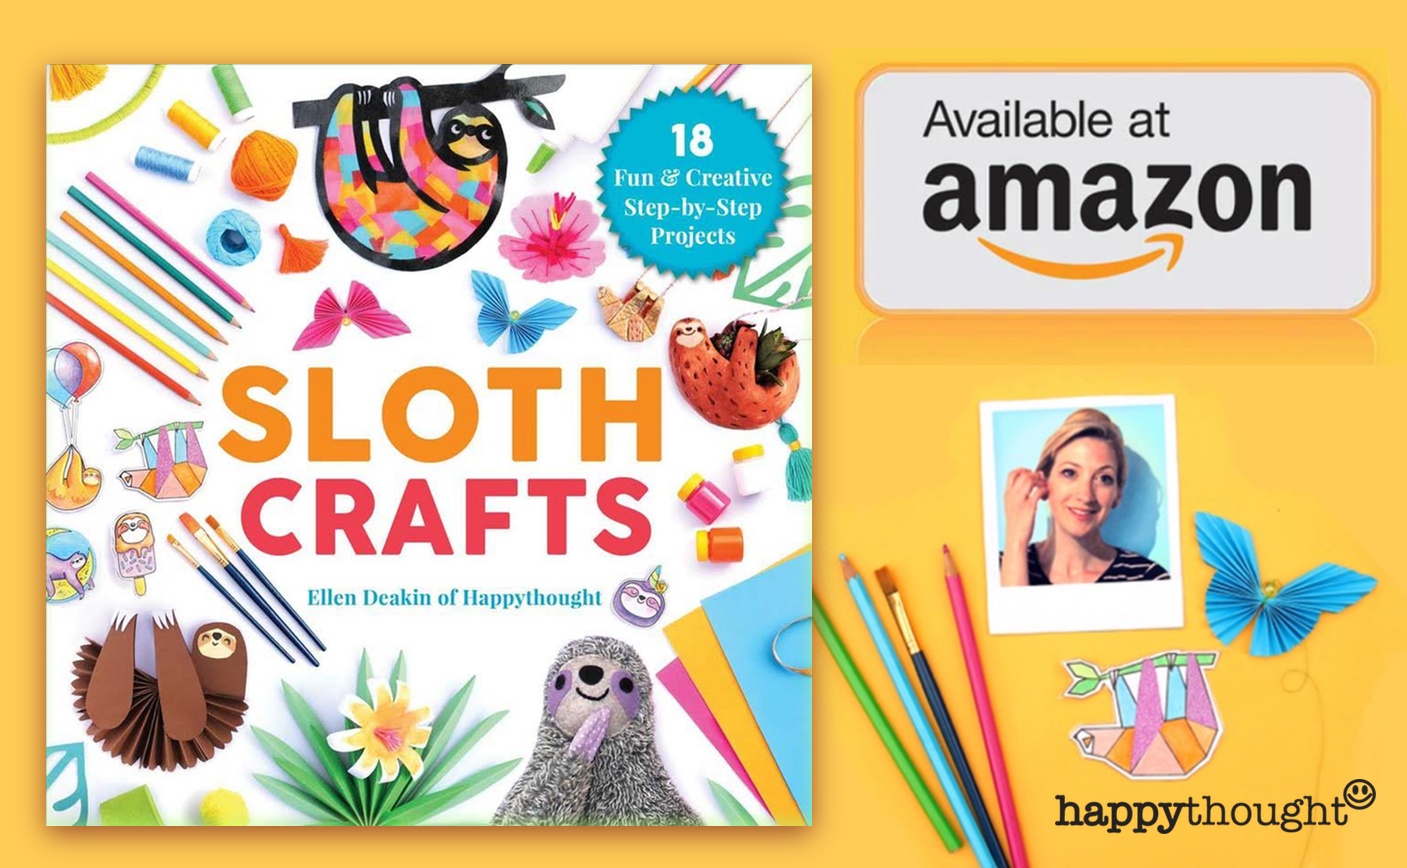
Use the template in Happythought’s Sloth Crafts to create an adorable Sloth and butterfly image.
You will need:
A wooden board
Small nails
A hammer
Plyers
Colorful embroidery threads or fine string
How to make your Sloth String art
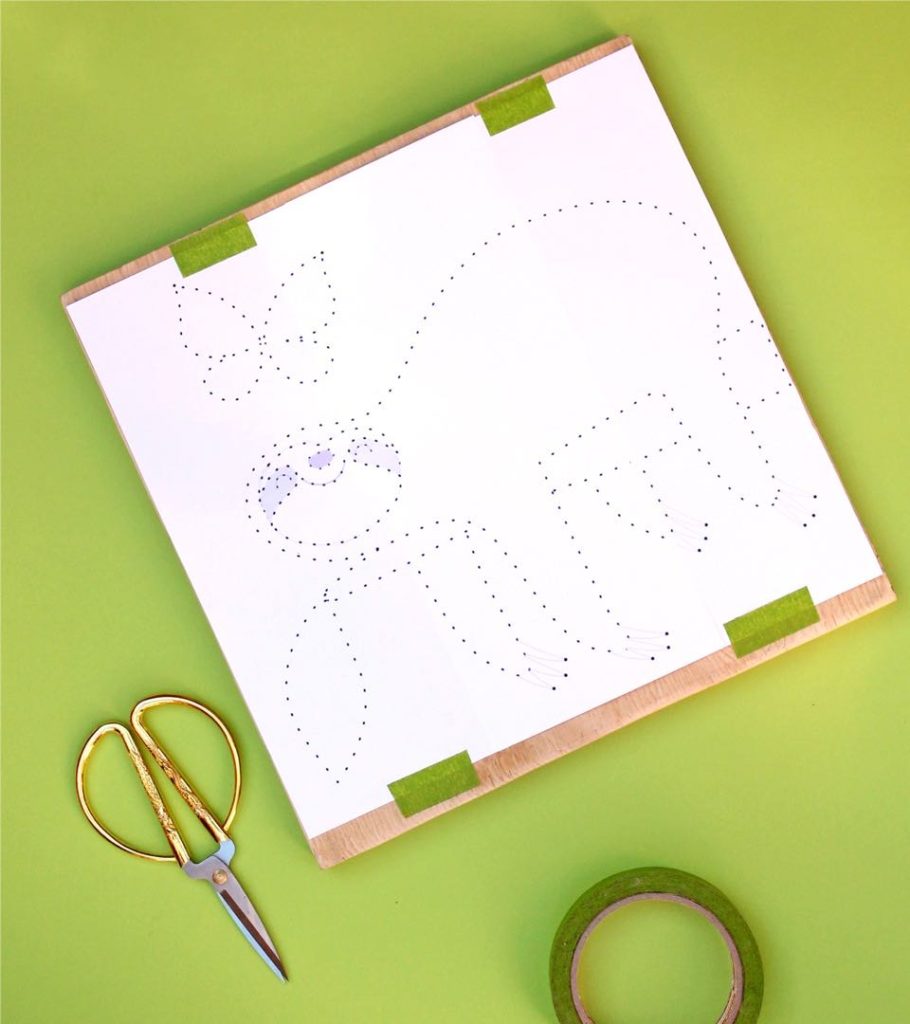
Step 1
Attach the design (you can find the template in the Sloth Crafts book) to the board of wood.
Step 2
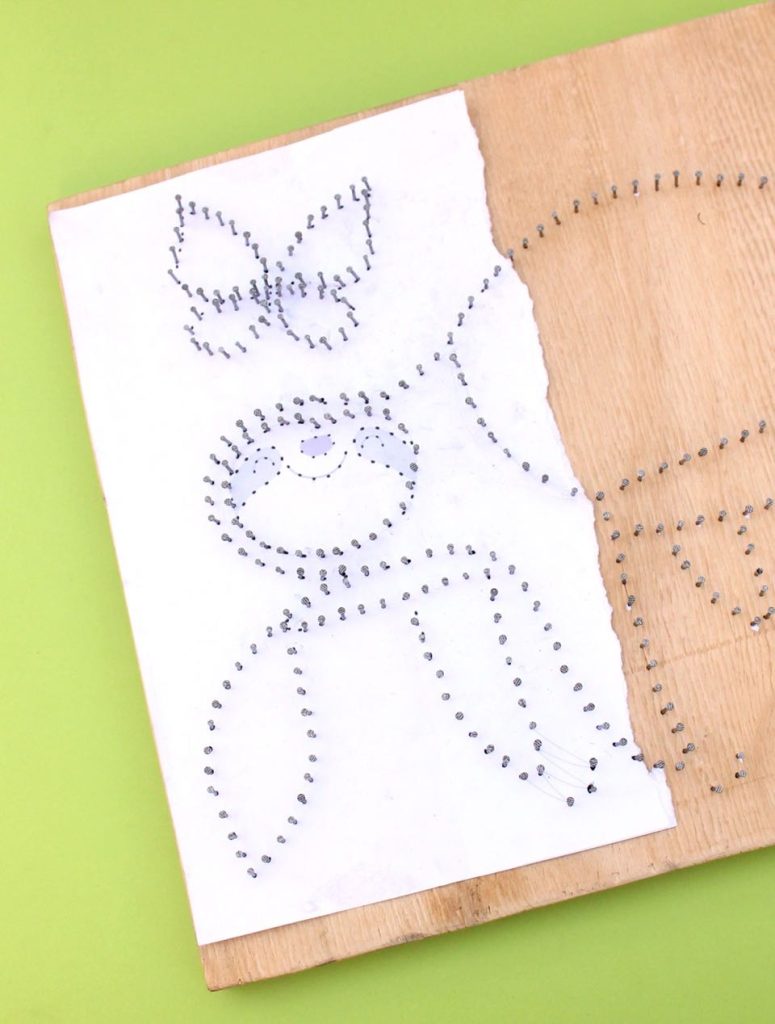
Following the line, nail in small nails, at approx 3mm intervals.
Once you have completed the design, tear off the paper reference.
Step 3
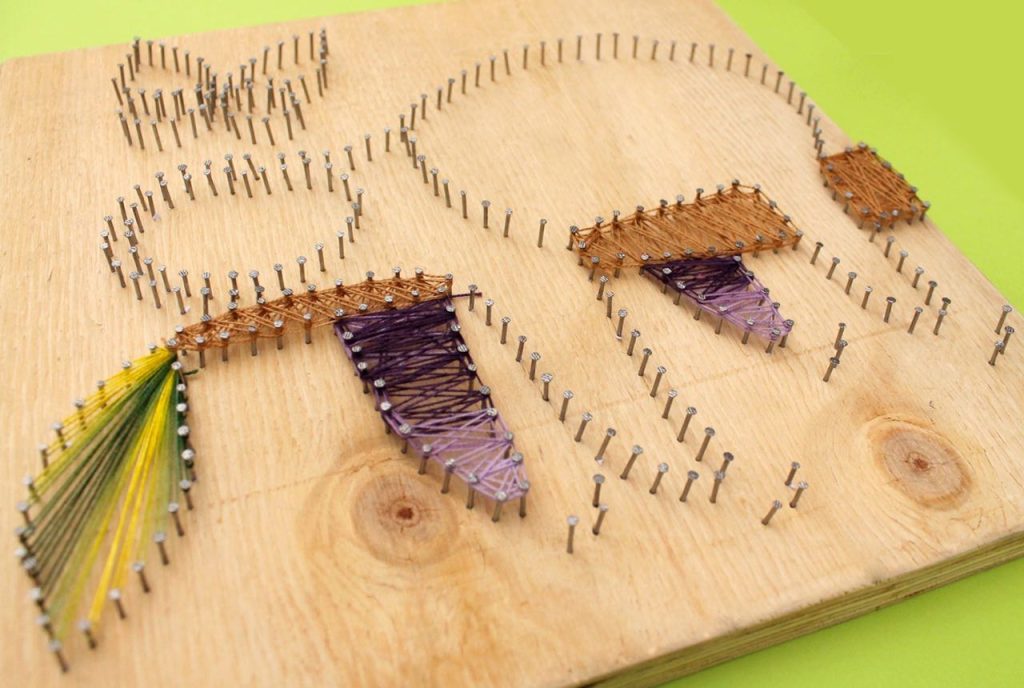
Start by wrapping a length of thread around the first nail, tying a knot to secure it.
Start wrapping between each nail until the space is filled.
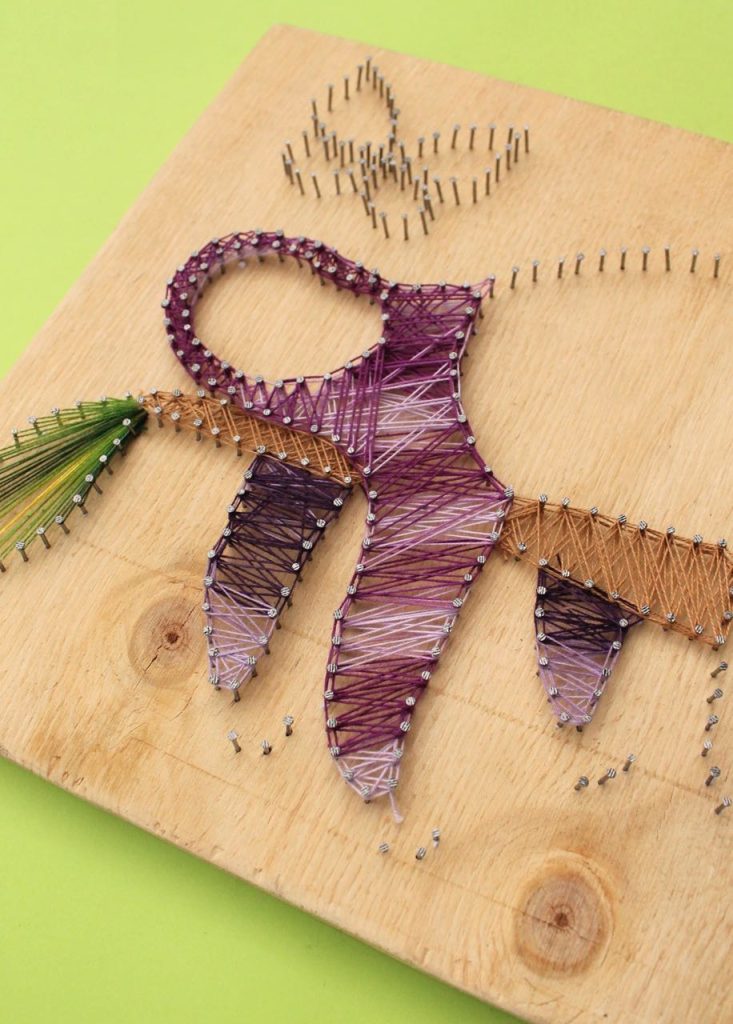
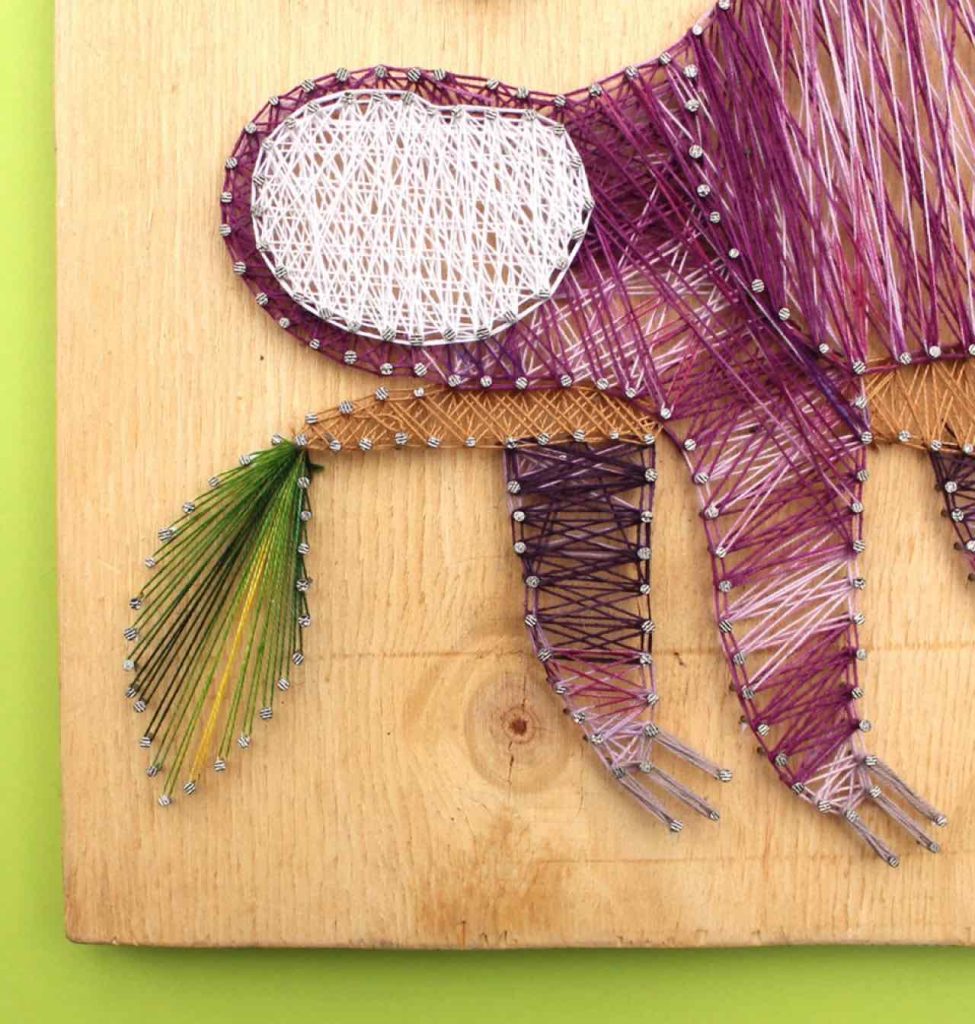
Next wrap the elements that will be in the background of the picture – the back legs and the branch.
Step 4
Now to add the body. We used a thread with mixed colors.
Your can wrap the string in any direction – make a random pattern, or follow a grid. There are no rules!
Step 5
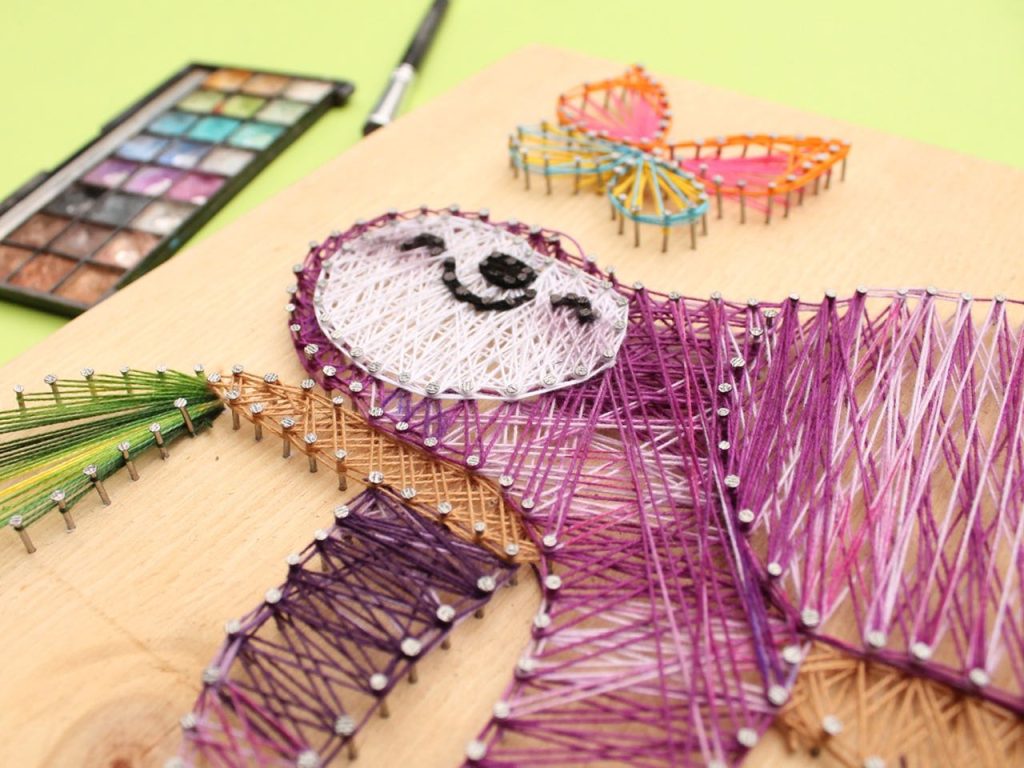
Add the base of the face in white, the claws and the butterfly.
Place the paper reference on top of the white threaded face area.
Following the lines, hammer in the nails around the eyes, nose and mouth.
Tear off the paper and wrap black thread along the lines.
Step 6
Add a rosy glow the the sloth’s cheeks
Hooray, your string art is ready to hang. How cute!
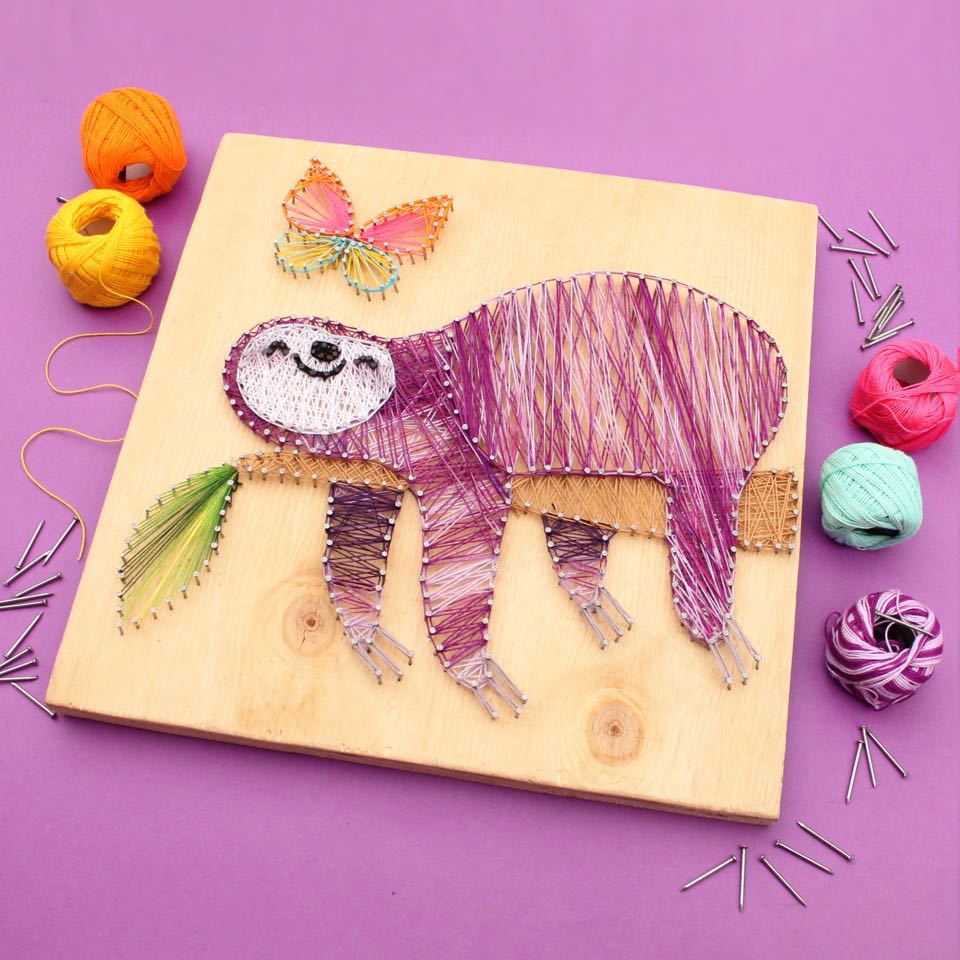
Check out our new book Sloth Crafts for a more in depth tutorial on making your Sloth String art masterpiece!
Check these other Happythought craft templates
More sloth crafts and ideas are in our new book Sloth Crafts, available at Amazon, Barnes and Noble, Target, Waterstones and all good book shops now!

