

Description
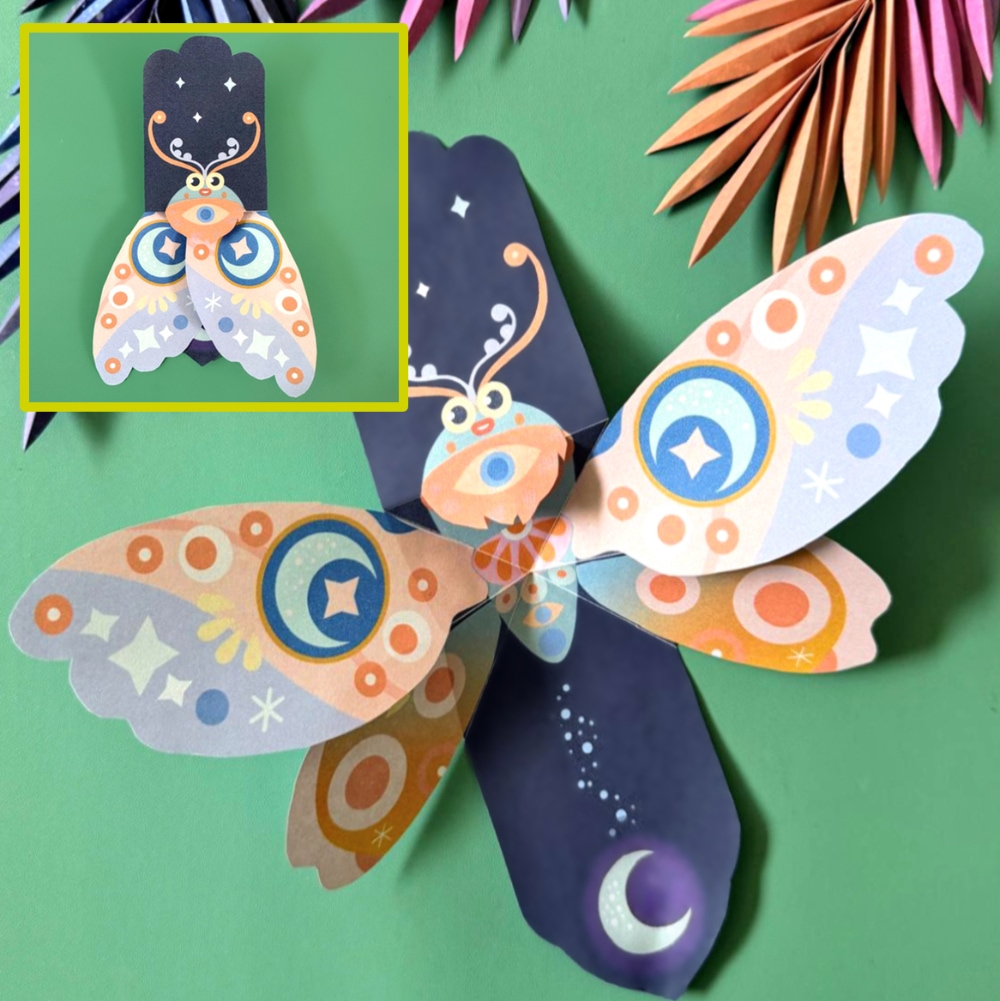
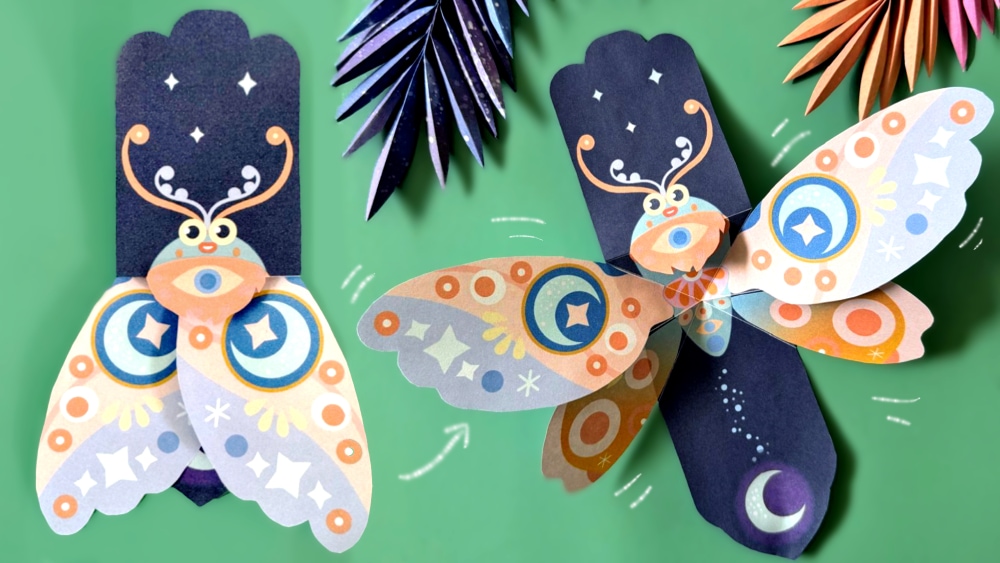
Add some interactive magic to your spooky season decorations! In this tutorial, we will show you how to make a lovely moving paper moth ornament with wings that actually flap!
Using a clever, simple paper-folding technique, you can bring this cute flying creature to life. It is a fantastic, engaging activity for kids, parents, and teachers looking for unique Halloween classroom projects or a fun afternoon crafting session at home.
DIY Moving Paper Moth Craft | Easy Flying Halloween Papercraft🦋
Our printable template makes assembly a breeze, leaving you with a charming little vampire to hang or display.
📺 Watch the Step-by-Step Tutorial: DIY Moving Paper Moth Craft | Easy Flying Halloween PaperCraft Tutorial 🎃!
Want to see the folding mechanism in action? Click play below to watch our full step-by-step video walkthrough on YouTube. We show you exactly how to fold, assemble, and make your moth fly!

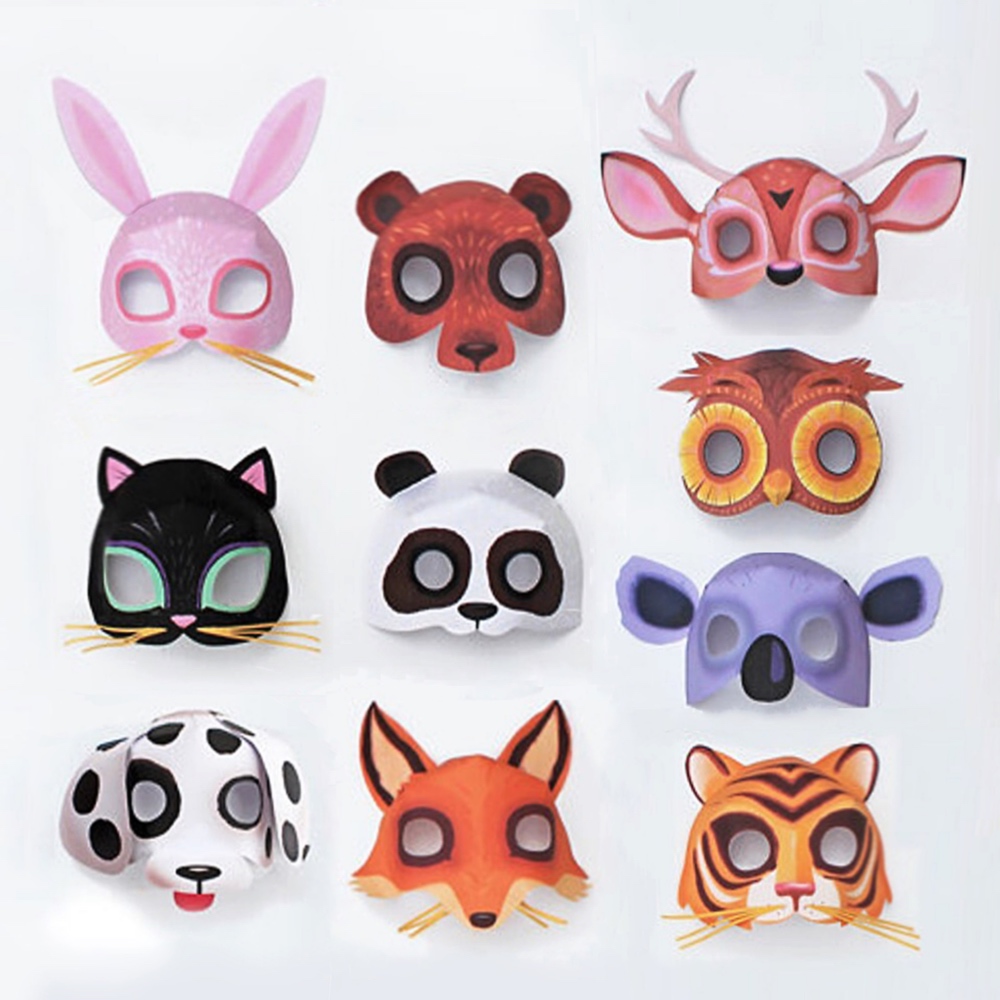
YOU WILL RECEIVE mask templates:
PDF HIGH RESOLUTION file contains the following templates/patterns:
• Moving Moth instructions
• Moving Moth color templates
Our digital templates are designed to be easy to make. We like things simple too.
What You Will Need:
Printable Moth Template from Happythought
Paper or Cardstock
Scissors
Glue Stick or double-sided tape
Join the Craft Club for More Printables!
This template is part of our Happythought Craft Club collection. Join today to get instant access to a massive library of printable masks, festive holiday activities, and papercrafts designed specifically for creative parents and educators. The templates are available for Happythought Members to download free today!
Other Happythought Crafting ideas
Did your moth take flight? We would love to see your beautiful creations! Tag us on Instagram @happythought or use the hashtag #happythoughtcrafts so we can feature your projects on our page!
📝 Quick Assembly Cheat Sheet
Keep these quick reference steps handy while you craft along with our video tutorial:
- Print & Prep: Download your template from the Craft Club and carefully cut out all the moth body and wing pieces (0:00).
- Score the Base: Start with the horizontal folds, scoring them neatly, followed by the diagonal folds running across the main body (0:37).
- Build the Mechanism: Fold the paper inward using the white guide lines until it forms two little triangles(0:48). Fold that middle piece in to complete your flappy flying mechanism (0:48)!
- Attach the Collar: Apply a little bit of glue and secure the small mouth ruff onto the moth’s head (1:13).
- Glue the Top Wings: Apply glue to the corner of the top wings and line them up perfectly with the detail inside the folded triangle on the moth’s body (1:13).
- Add the Bottom Wings: Put a dab of glue on the corners of the bottom wings and align them carefully with the lower body (1:32).
- Ready to Fly: Fold your completed moth shut, hold the base, and watch those beautiful wings flap(1:40)!
🎃 Looking for More Halloween Paper Crafts?
The spooky fun doesn’t stop here! If you are a member of our Craft Club, you can dive straight into these awesome projects next:
We hope you enjoyed our Moving Moth craft to celebrate Halloween. If so, please give us a little love; by pinning us on pinterest. Thank you!









Reviews
There are no reviews yet.