
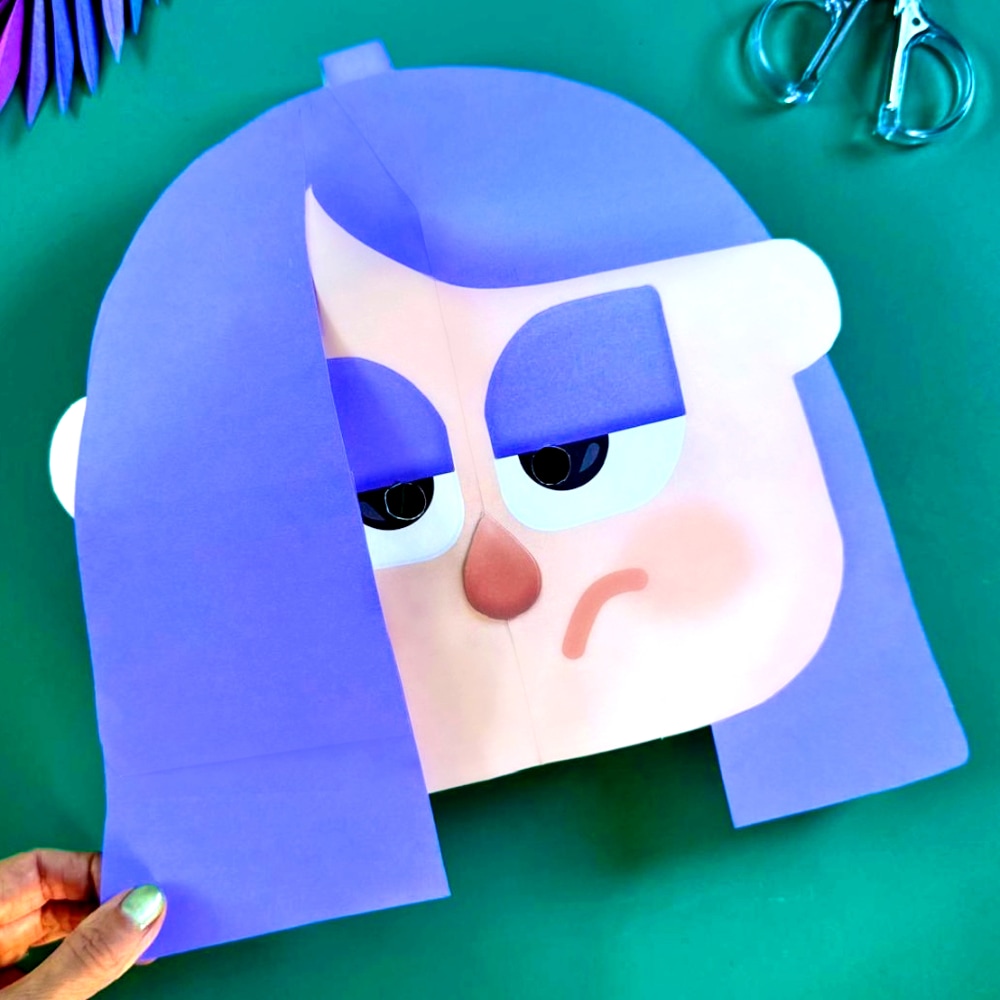

Description
Welcome back to the Happythought Craft Club! Today, we are blooming with excitement to share our latest printable project: a gorgeous, vibrant DIY Lily Mask. Whether you are looking for a creative afternoon activity for the kids, a unique homeschool project, or a colorful addition to a costume party, this easy papercraft is perfect for makers of all ages.
How to Make a Lily Mask: A Fun Craft Club Activity! 🌸
Our printable Lily mask template is designed to be quick, stress-free, and incredibly fun to assemble. Follow our step-by-step guide below to bring your paper mask to life!
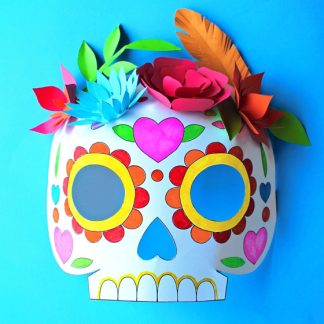
DIY Lily mask tutorial. Download paper 3D mask. Be Lily Today with this costume template!

YOU WILL RECEIVE mask templates:
PDF HIGH RESOLUTION file contains the following templates/patterns:
• Lily mask instructions
• Lily mask color templates
Our digital templates are designed to be easy to make. We like things simple too.
What You Will Need:
- The Lily mask printable template
- Heavy paper or cardstock for printing
- Scissors
- A glue stick or double-sided tape
- A craft knife (optional, for cutting out the eyes)
Join the Craft Club for More Printables!
This template is part of our Happythought Craft Club collection. Join today to get instant access to a massive library of printable masks, festive holiday activities, and papercrafts designed specifically for creative parents and educators. The templates are available for Happythought Members to download free today!
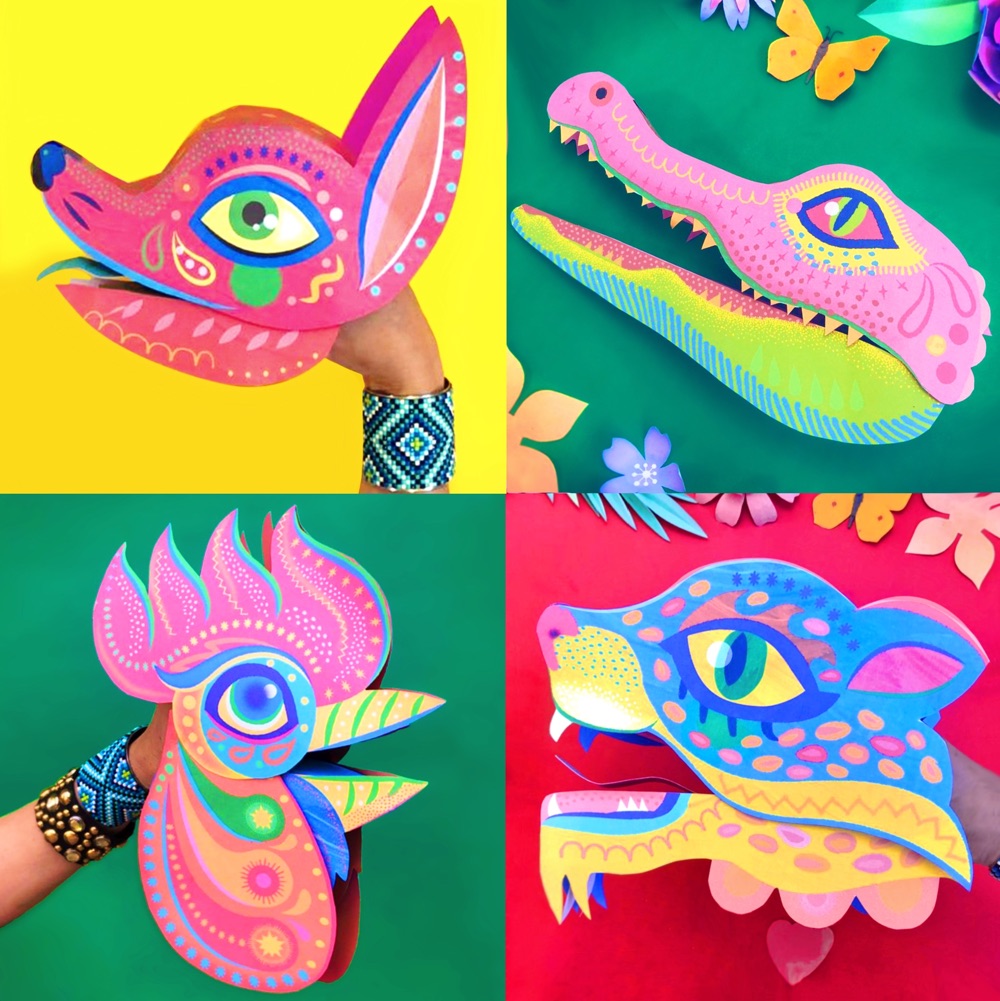
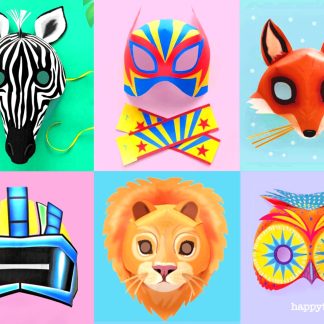
Other Happythought mask craft ideas
Step-by-Step Tutorial
Step-by-Step Tutorial
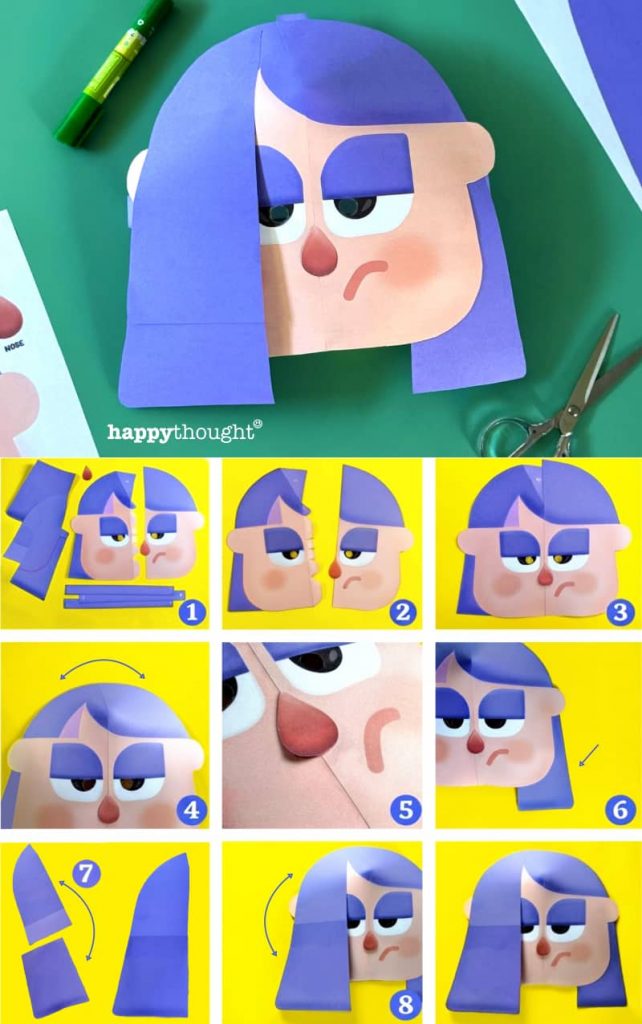
Step 1: Print Your Mask Template
Log into your account and download the Lily mask template. For a durable mask that holds its shape while worn, print the PDF directly onto heavy paper or cardstock.
Step 2: Cut Out the Mask and Tabs
Carefully cut along the solid outer lines of the mask. Parents, this is a great way for kids to practice their scissor skills! Tip: Carefully cut out the designated eye holes so you can see clearly when wearing it.
Step 3: Score and Fold the Center Flaps
Glue and assemble the two sides of the my face to complete the Lily mask. Be sure to secure top of the mask, near the hairline. Finally attach the extra nose
Step 4: Glue the Hair to Build the 3D Shape
Apply a small amount of glue or tape to the designated tabs. Attach the extra hair to the sides of the Lily mask and press firmly. As the edges secure together, you will see the flat paper instantly pop up into a sturdy, wearable mask shape.
Step 5: Attach the Straps
Turn over the mask. Then glue and attach the 3 head straps to the back of the mask
Your custom Lily mask is officially ready to wear!
We hope you enjoyed our free Grouchy bear mask to celebrate any Holiday. If so, please give us a little love; by pinning us on pinterest. Thank you!







Reviews
There are no reviews yet.